Showing posts with label Recipes. Show all posts

Wednesday, 15 February 2012

Twist of Luck Biscuits recipe~~~

Twist of luck biscuits are one of my favourite biscuits!!!
So, I thought... maybe I should try making them myself since I got the recipe! hahaha...
This is the first time I'm making it...and it really tastes good! =)
The texture is not that hard like the ones I bought outside, the texture is softer and it's more like cookies.

Hence, here is the recipe! Do try making it! =)

Ingredients
A: 250g plain flour, 75g icing sugar, pinch of salt, 1/2 tsp of baking powder.
B: 75g vegetable shortening, 1 egg, 1 tbsp of water, just enough oil for deep-frying.
Garnishing: some icing sugar.

Method
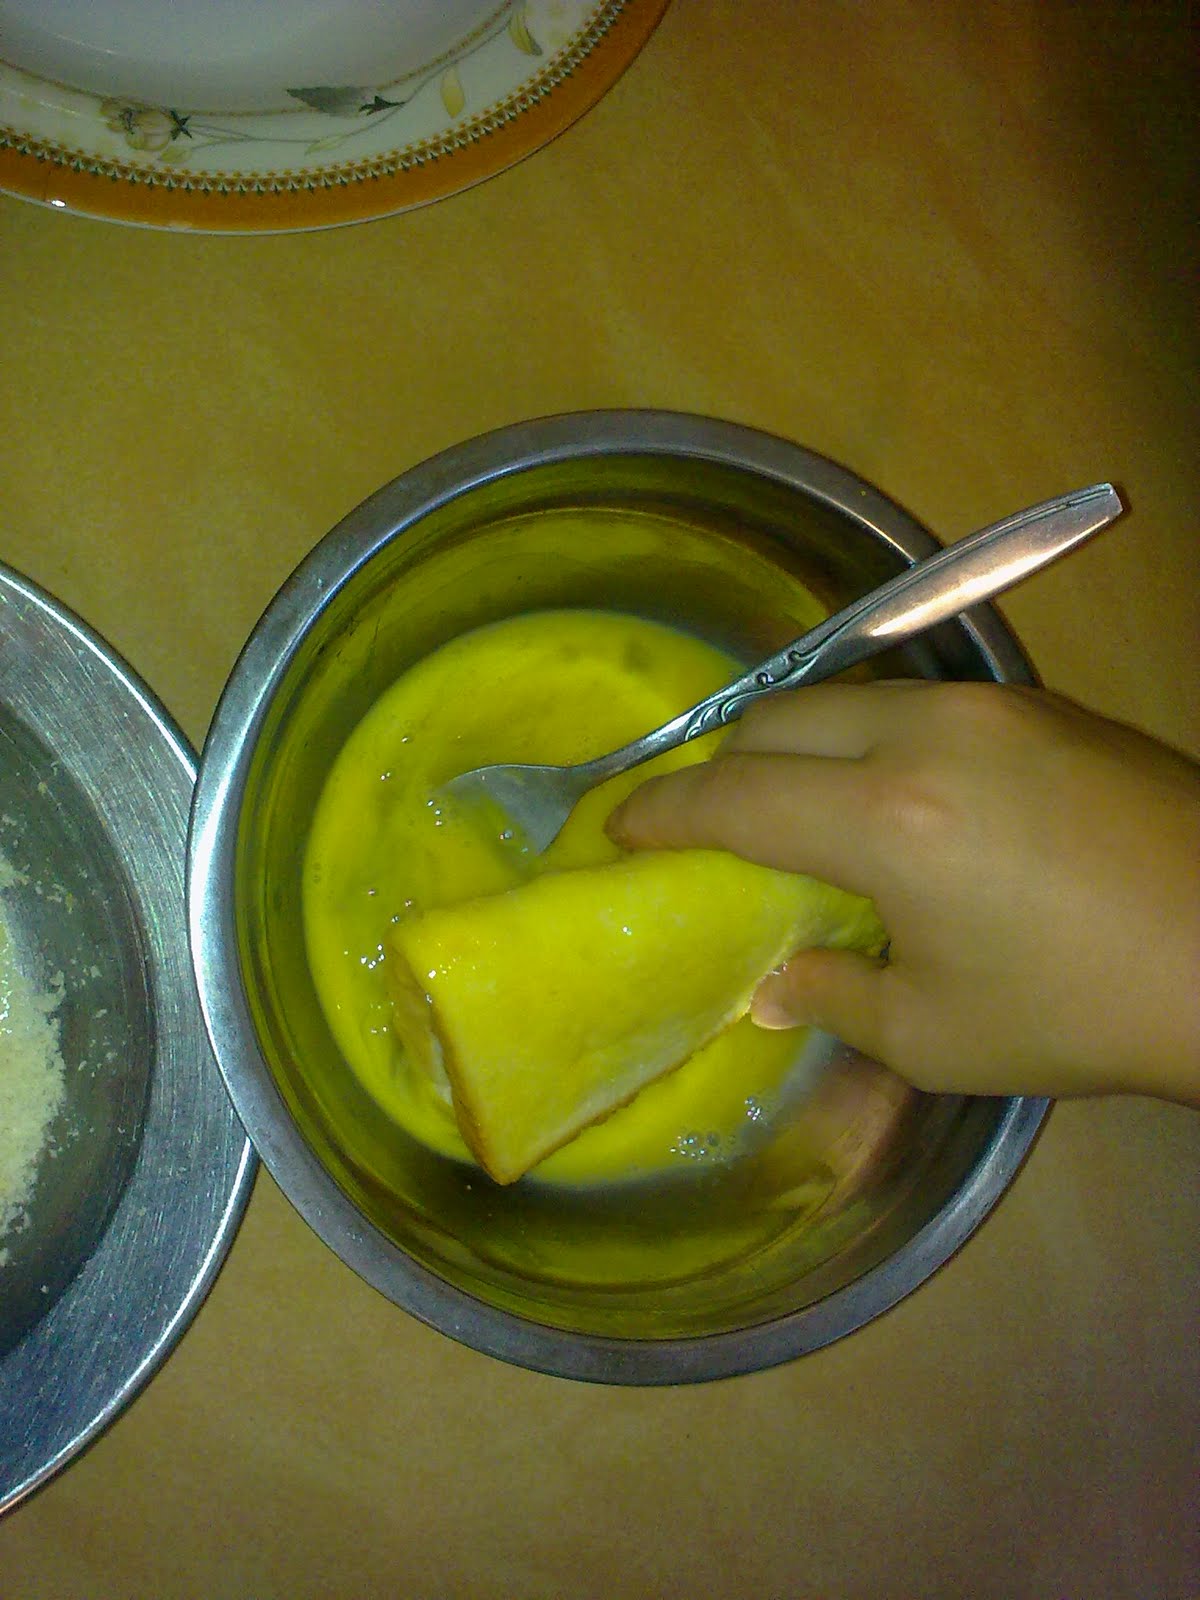
1. Put all ingredients A into a mixing bowl, stir to mix well.
2. Add in vegetable shortening and rub lightly with fingers to combine together, by then mix in egg and water, knead lightly until forms dough, leave aside to rest for 20-25 minutes.
3. Place the dough on the table and roll it flat, cut into any desired length to form strips, bring both ends of one strip together and twist into a rope. Repeat this step until finished up all dough.
4. Deep-fry the twisted ropes in hot oil, medium heat until turns golden brown.
5. Remove and place on a piece of absorbent paper to cool down, sprinkle icing sugar on top to garnish.
6. Lastly, store them in air-tight container, DONE! =)


Here are my Twist of Luck Biscuits!


*It's really hard to roll them and fry them... as they break easily! So, becareful when you are rolling and frying them*


Hopefully I'll be lucky this whole year after making this biscuits! hahahahahaa... =P
So, happy trying! May u all be lucky too~~~ haha... =)

Monday, 13 February 2012

Laughing Golden Sesame Balls (笑口棗)~~~

My grandparents love to eat laughing golden sesame balls~
They have never failed to buy them whenever they are in Petaling Street!
So...I thought...why not try to make them?!
Hence, I did it today!
Thus, this is the FIRST attempt! And... It is a SUCCESS!!! =)
My family members love it! They say it is as good as the one sold in Petaling Street... LOL! XD
Not bad for a first time attempt eh??? =P


So, I would like to share the recipe with you guys!
Do give it a try! It's quite simple actually~ =)


Ingredients
A: 300g plain flour, 1 teaspoon bicarbonate of soda, 1 teaspoon of baking powder, 2-3 tablespoons of water.
B: 2 eggs, 120 caster sugar, 2 tablespoons of vegetable shortening.
Coating: some sesame seeds, 1 bowl of water.


Method
1. Mix ingredients B lightly until well combined.
2. Then, gradually add in ingredients A, stir until become a dough.
3. Dish out and knead until smooth dough is formed.
4. Divide the dough into small portions, form it into balls.
5. Then, dip with some water and coat well with sesame seeds immediately.
6. Deep fry in hot oil at medium heat until golden brown and slightly cracked * the crack is like a smile, that is why it is called LAUGHING golden sesame balls! =) *


That's all! It's so simple right? =)


This is the end product~teee heee~~~

My laughing golden sesame balls~ they are not really round though~ hahaha...
Regardless of their kinda ugly appearance, they do taste good... hahaha..
Do give it a try guys!!!
Happy trying! =)

Saturday, 24 September 2011

"Gai Dan Gou" recipe! (An improved one!)

Previously, I have shared my "gai dan gou" recipe in my blog!
However, after baking this cake for quite a number of times, I have bettered my skills in baking this cake! hehehe... I have sort of altered the recipe a little bit... =)
So, here is the improved "gai dan gou" recipe!
Do give it a try! As the cake turned out to be fluffier and taste better~ =)


Ingredients:

6 large eggs
200g castor sugar
200g plain flour
1/2 tsp of baking powder


Method:
1) Beat the eggs and castor sugar with an electric mixer or a whisk for about 20 minutes.
* The batter will be kinda thick and creamy*
2) Then, add flour and baking powder into the batter and mix well.
3) Lastly, pour the batter into a baking pan and steam at high heat for about 25 minutes.

* To view the pictures of each step, refer to HERE, my previous post on this recipe! =) *

TAKE NOTE : Just lay an aluminum  foil loosely above the cake, to ensure that there is enough space for the cake to raise.... This is really a very important point to remember! Or else, the cake will turn out not well... sometimes, the middle part is not cooked yet as there is no space for it to raise in the middle. So, just cover the cake loosely with an aluminum foil, just enough to prevent the water vapor from falling onto the cake.

Happy trying guys!!! =)


Tuesday, 13 September 2011

Sardine/Tuna Rolls Recipe~

Sardine rolls have always been my FAVOURITE! It's crispy and delicious~
So, finally... I have decided to give it a try and make them myself!
And... to my surprise, they really turned out well! They are really YUMMYLICIOUS~~~ =)
Proven by my parents and my boyfriend~ teee heee~~~
* They are normally the guinea pigs for all my recipes~ LOL *
So, here is the recipe! It's really simple! And... You should really try it! =)


Ingredients:
1) Few slices of bread. * Depending on how many rolls you want to make * 
(Gardenia, High-5 or whatsoever brand)
2) 1 egg. * Lightly beaten *
3) Bread crumbs.
4) Sardine/Tuna filling.
5) Oil. * To fry *

Ta daaaa~ here are the ingredients!
Method:
1) Spread the sardine/tuna filling on the bread and make them into rolls or just fold them.

2) Then, dip the rolls into the beaten egg.


3) After which, cover the rolls completed with bread crumbs.
* Don't worry, the bread crumbs will stick easily to the bread because of the egg. *


Bread completely covered with bread crumbs.
Let them rest for 2-3 minutes before frying them.
* Let them rest for 2 to 3 minutes before frying them *


4) Finally, fry the rolls with medium heat until golden brown with a little bit of oil.


It is just that SIMPLE!

Here is my very own sardine/tuna rolls! 
My golden brown sardine/tuna rolls!
They look delicious! Don't they??? They really ARE DELICIOUS!!!
So, do give it a try! It's really SIMPLE!
And... I can guarantee you that you will definitely LOVE it! and CRAVE for more! hehehehe... =)
Happy trying!!! ^-^

Tuesday, 16 August 2011

"Sugi" biscuits recipe!!!

This the first time I bake biscuits!!! =)
I have always loved eating "Sugi" biscuits~ So, I thought... why not try baking them??? hehehe...
I looked through the internet and found the recipe...
And to my amazement, there are tons of different recipes for this biscuits! >.<
Being a beginner, I just choose the simplest one and made some changes to it!!! haha...
Luckily... the biscuits came out quite well~ Not too bad for a first timer~ teee heee~~~
*I took 3 hours to complete everything! Phewwww~~~*
So, here the recipe which I have made changes to! hahaha... =)
Do give it a try!

Ingredients:
1) 500g flour
2) 250g ghee ("minyak sapi ghee")
3) 250g Castor sugar
4) 50g icing sugar

~This is the Ghee brand that I bought~ <Windmill>

This is how the Ghee looks like~
Method:
1) Fry the flour with low heat.
*this is kinda weird right? LOL...this is also the first time I heard of frying flour*

~Frying the flour~
 2) Beat the ghee and Castor sugar for about 5 minutes.


3) After the flour cool down, mix the flour into the mixture of ghee and Castor sugar.


4) Mix the mixture with your hands until well mixed.


5) Then, form the mold into balls.
*These are the two designs which I have tried~ hahaha...~ *

25 in a tray

56 in a tray
*I was able to make 3 trays of them~ Altogether about 150 small balls. =) *

6) Preheat the oven at 170 Degree Celsius for few minutes.

7) Then, put the biscuits into the oven and heat it for 10-12 minutes.

*That's all~ Just wait for your biscuits to be ready! =)*

Then mix them with icing sugar~ =)

*You can put more icing sugar on the biscuits if you want to, I didn't put much here as my parents prefer less sugar~*


This is the experimented design~ Not bad too! =)
*I think the design is really up to you! So, just feel free to try any design~ =)*

This is it! I have put them into a plastic container~ =)
P/S: I will try another recipe of this biscuits next time! =) Practice makes perfect! hehe... Do give it a try! Have fun trying~ ^-^

Thursday, 4 August 2011

Sambal Chicken Recipe~~~

This is my "sambal" chicken recipe!
This is my first time attempting this dish though~ hahaha...
But, to my amazement, it turns out great! My mum praised me too! teee heee~~~ =)
So, this is it! Do try out my recipe~ =)

Ingredients:
3 chicken thighs(chopped into smaller pieces)
some garlic
4 small red onions
2 big onions
a little bit of dried prawns
a little bit of "belacan"
a tsp of sugar
7-8 teaspoons of chilly paste
a teaspoon of salt ( do not have to put too much salt though, as the "belacan" is already kinda salty)

These are some of the ingredients

Chicken thighs chopped into pieces
Method:
1) Turn on the stove and put some oil.
2) Then, put in the garlic and small red onions. Fry it for awhile with medium heat.
3) Add belacan and dried prawns. Fry them all with medium heat.
4) Next, put the big onions in and fry again. * by now, you can smell the pungent aroma!*
5) After that, add about 7-8 teaspoons of chilly paste into it and mix well.
6) Then, add sugar and salt to make it tastier! =)
7) Finally, add in the chicken thighs and a little bit water and let it simmer for about 20-30 minutes.
* Do flip the chicken thighs once awhile while it simmers*

That's all! Sambal chicken is done! =)


P/S: If you want to make "sambal" for "nasi lemak", you can always follow this recipe too! But, stop at step number 6! After which, you can also add some "ikan bilis" after step 2! =)

Friday, 8 July 2011

Chocolate Moist Cake~~~

This the SECRET RECIPE of my successful CHOCOLATE MOIST CAKE~ =) 
I have baked this cake for quite a number of times! My family, relatives and friends all love it~
Thus, I would like to share this recipe with you guys!
Do try it out~ You might not succeed in your first trial..but, do not give up! As practice makes perfect! 
It's really simple! Just follow the steps below..and enjoy baking~  =)

Ingredients:
(A) 180g butter, 200g caster sugar, 200g full cream evaporated milk, 1/2 tsp vanilla extract
(B) 2 eggs, slightly beaten with fork
(C) 100g plain flour, 50g cocoa powder, 1/2 tsp baking powder, 1/2 tsp baking soda

Steps:
1) Combine (A) in a saucepan. Stir over low heat until the butter melts and sugar dissolves. Turn off the fire and keep warm.


2) Sift (C) into a large mixing bowl. Then pour (A) and (B) over the flour and stir well.

3) Heat up the steamer.
4) Pour the batter into a baking pan and cover the top with an aluminum foil.

5) Put the pan into the steamer and steam over medium heat for 45 minutes.


Chocolate topping (use double boil to cook the chocolate)

Ingredients:
1/4 of a bar of baking chocolate, whipping cream

Steps:
1) Chop the chocolate into pieces and put them into a metal bowl.
2) Add whipping cream into it. (If you want the chocolate to be more runny and lighter, add more whipping cream) 
3) Put the bowl into a pot with boiling water. The fire needs to be low and not too hot.

4) Stir until all the chocolate melts.

P/S: If the water is boiling, turn off the fire as direct heat or too much heat will ruin the chocolate.

This is the final product! My very own chocolate moist cake! Yummy yummy! =)